Showing posts with label Recipe. Show all posts

Monday, 11 February 2013

Greek Wash Day

I had been pondernig doing another Greek Yoghurt treatment, and then a colleague requested an Apple Yoghurt cake for his birthday and wham! Perfect excuse.

Okay, I bought the yoghurt before hand, but the cake excuse made me feel it was justified. Similar recipe to what I used here.

So small. And yet, so deliciously powerful.
The cake was both simple and simply divine, as were my results when using it in my hair.

To even write what I did feels sliightly patronising, but here goes!
1) Slathered my hair in coconut oil overnight. 2) Added 2 tablespoon fuls of greek yoghurt to a bowl, along with 2 tablespoonfuls of apple cider vinegar and 10 drops of peppermint essential oil. Mixed with a wooden spoon. 3) Applied yoghurt mix to my hair and left it for 20 minutes (possibly whilst wearing a plastic bag or something. I don't remember). 4) Rinsed out of hair thoroughly, sniffing for peppermint as a hint as to what areas were still incomplete.

As an experiment, I liberally added some aloe vera gel to one side of my hair to see if it made a difference and it did.
It dried, as gels are wont to do, making my hair feel crunchy with it's soft hold and encouraging me to put some Felix Capillus on it to soften it up >.<

And that was it! Ah, I love wash days that don't take a lot of effort...


Wednesday, 8 August 2012

Raspberry and Chocolate Cupcakes


When I was younger, I had a friend. We adored each other, as friends tend to at that point in life and friendship. If I received a text from this friend, I would drop everything to go and just hang out with her. There was actually a point where I semi-moved into her bedroom - my things stuffed under her table in preparation for my inevitable arrival at some point during the day.
Unfortunately, at this point in my life, that closeness has evaporated; the opposing tug of our differing duties pulling us into different areas.

We drifted apart for various reasons. The tragedy of this split is that it was entirely preventable; we just stopped holding on. She stopped caring and I didn't have enough time to prioritise fixing the cracks that appeared. Our ships have not yet crossed paths again and I don't know if they ever will again.

One thing I do know was that she loved raspberries - they were her favourite fruit. She shunned strawberries as mainstream slackers that could not live up to the sharper, sudden flavour of raspberry. Looking back, I think it was like a fruit microcosm of her personality.

I, on the other hand, was a renowned chocoholic with a famed sweet tooth that lent itself to my baking.
For some reason, I never baked anything with raspberries in it during the duration of our friendship.
Her birthday is coming up soon and I got to thinking about what I would have made for her in celebration. If we still hung out.

If we were still friends.


And this recipe is perfect - the chocolate is dark and rich, gently muted by the raspberry buttercream frosting.
You can drop the raspberries into the batter before baking them or you can cut the cupcake open afterwards to insert the raspberry jam. Because the icing turns out pink from the raspberry jam, people always think it's going to be sweeter than it is. It's a surprising and refreshing surprise!
Since first making this recipe, I've made it about 5 more times, not including the birthday request - they're very popular.
And if you share them, you will be too!

Wednesday, 6 June 2012

Big Buttermilk Scones


Jubilee Week! Yaaaaay! Everyone out wearing red, white and blue and the same union jack dress from Primark.
 It's like our 4th of July except, you know, we're not celebrating freedom from monachy, we're....er....doing the opposite and celebrating the monarchy.


Hmmm.

Moving on swiftly! I decided to get into the mood of things and bake scones because they are delicious when served with butter and jam [traditionally, it's clotted cream, not butter, but that's not happening in my household].

I got the original recipe from the Good Food website - it's only minorly modified because I had some buttermilk left over from making Red Velvet Cupcakes for my colleagues and decided to use it here.

The result were really soft, light scones that kind of melted away in your mouth. They were incredibly moreish and sharing them was one of the most selfless things I've ever done in my life. Deeee-lightful!


The best thing is that it's so simple and easy to do you can leave the room for less than half an hour, and then return with hot scones. 

It's an instant recipe for popularity!

Big Buttermilk Scones
[adapted from a Good Food recipe]
Makes 6 pretty big scones    Preparation time: 10 minutes   Baking time: 10 - 15 minutes

Ingredients:
350g self-raising flour [I ran out half way and had to use plain so my scones didn't rise as much] + extra for dusting
1 tsp baking powder
1/4 teaspoon of salt
60g butter, cut into cubes
3 tablespoons sugar
180ml buttermilk
1 egg, beaten, to glaze


Method:
Preheat the oven to 220C/fan 200C/gas 7.
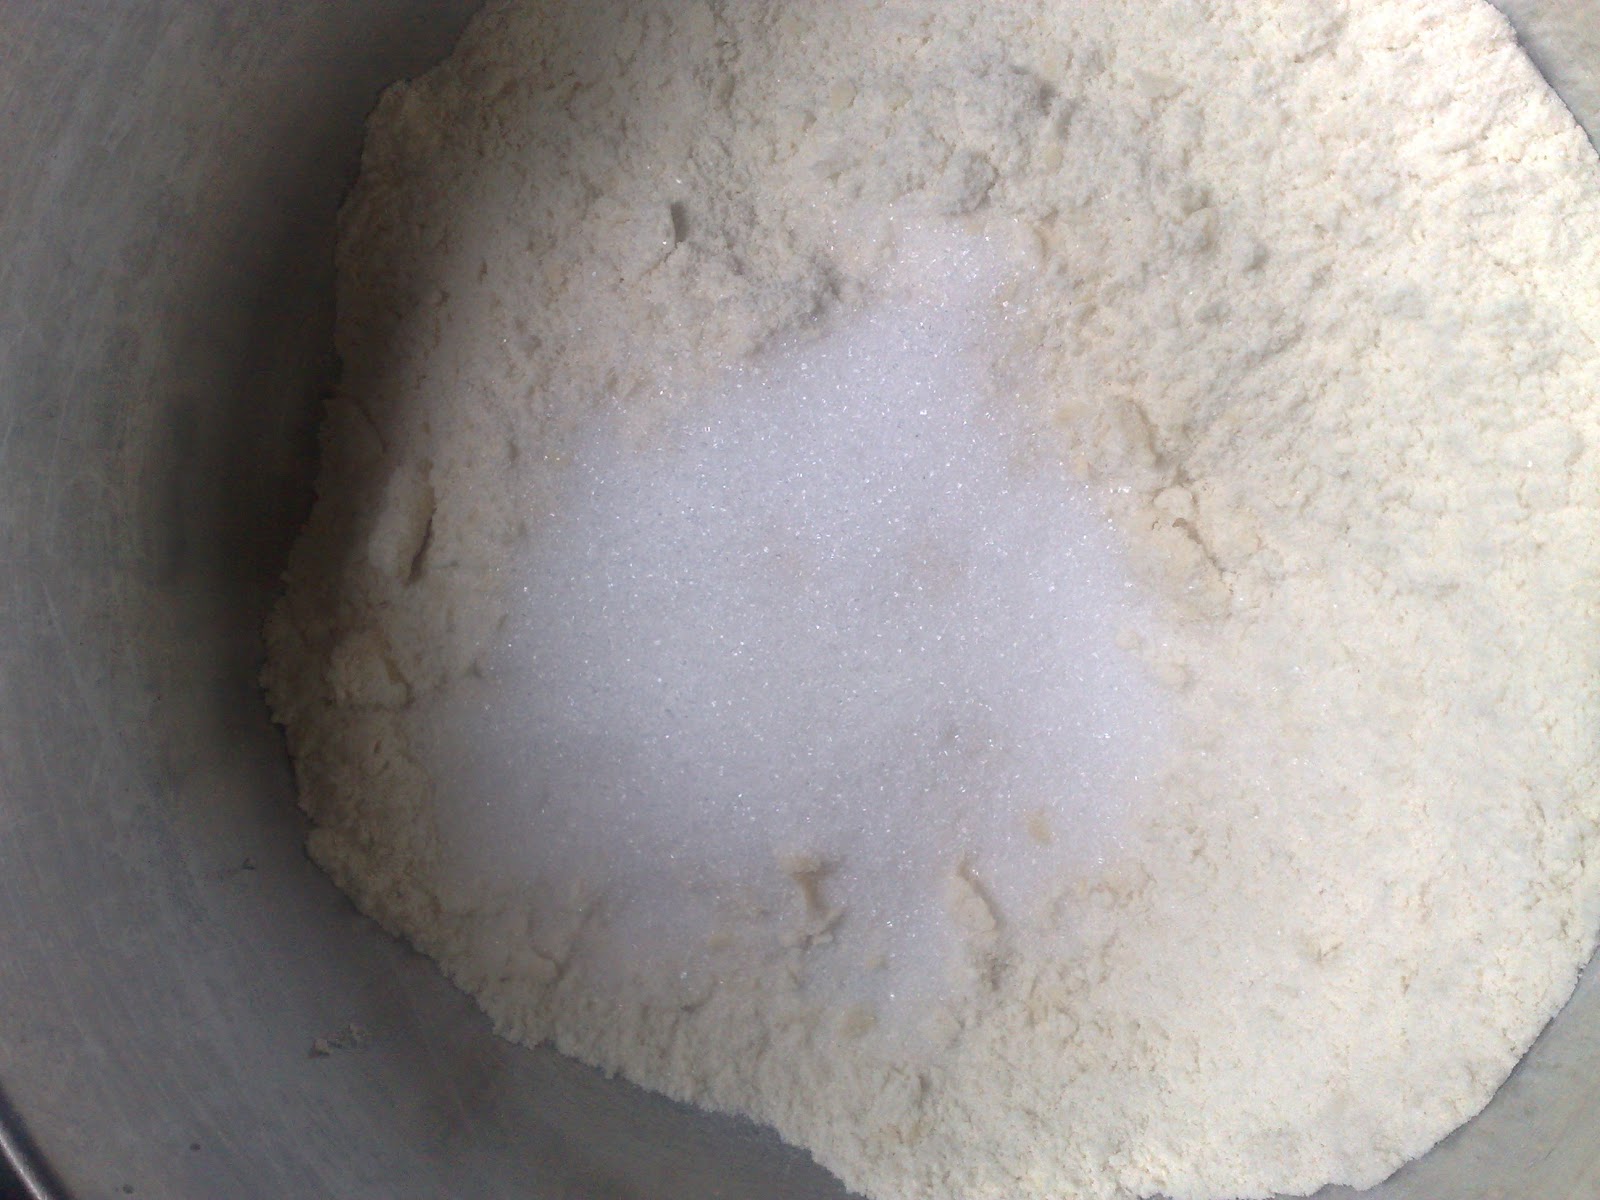
Sift the flour, salt and baking powder together into a bowl.


Add the cubed butter...

And then gently rub it into the flour mix with your fingers [or in a food processor]...


...Until the mix resembles rough breadcrumbs.


Add in the sugar and stir it in.


Then stir in the buttermilk, and vanilla extract.


Generously flour a clean, cleared surface

And dump the dough thing you created onto the surface. Now, remember, you are not kneading the dough [who wants bread-like scones? Ewwwwww!]. Nope, you're just trying to make the surface a little bit smoother and shape it so you can cut scone shapes out of it. So from this...


To something better than this =D


Now, if you use a 5cm pastry cutter, you will end up with about 8 scones. If you use a mug that is about 5 inches, you will only end up with 6 scones. Reading instructions is important.

Before you start stamping out your scone shapes, shuffle the mouth of whatever cutter you're using in the flour to prevent sticking.

Then start stamping out the shapes.


If there's any dough left over, just gently remould it and start stamping again. 

Place them on the baking sheet. It doesn't matter how close they are together, since they don't spread outwards. They just go upward a lot little bit.


And glaze them with the beaten egg mixture. This isn't essential - it just gives it a nice, golden brown finish.


Pop them in the oven for about 10 - 15 minutes [the bigger the scones, the longer they'll take to bake]. You may need to leave the room. The tension will be unbearable as the scent starts to permeate through your baking and you'll be tempted to open the oven door numerous times.

But eventually they will be done.

Scones are traditionally served stuffed with clotted cream and jam. I prefer them with a slick of butter and jam.

I would totally have a picture but I was too busy eating them that I forgot....

Monday, 10 October 2011

The Day of doing the Most: Part 1

I kind of cheated on my personal quest to put twists in for two weeks straight, since I started taking them out, and then was reminded I had somewhere to go which resulted in this style:


I'd started to remove the braids in the back on the left hand side, so I quickly  twisted the loose section, forming a sort of pseudo peacock fan thing.

It looks way less crazy from the front, I promise.

On Friday night, I finally took all the braids out, finger detangling to get rid of shed hair . I was happy. But also tired. I quickly did my hair in the usual lazy style, pre-pooed my entire head with Vatika oil, on with the satin scarf and then off to bed I popped.

I woke up and wanted my hair to have a little sniff of the gentle Saturday morning rain. It was less then drizzling. It was literally like soft, gentle sprinkles of icing sugar.

Wet, cold, icing sugar rain.

I wasn't too worried - If you remember, I had a head full of Vatika Oil.

Anyway. It feels like I've literally been in protective styles since, ooh, February (what with participating in the 3in6 challenge since February and the hilarious lack of sunshine in the summer). Thus, I was a little bit cheeky and let my hair out a little bit in my most favourite style from my childhood: The Minnie Mouse ears.


It's basically my hair split down in half vertically, with each section tied up with a hair band. 
The style always used to remind me of Minnie's ears, and the fluffiness of it always appealed me.


Though it's not quite yet up to the standard of Jazmine from Boondocks yet... 

Not now but someday...one day!
source
After jaunting about in the icing sugar rain, buying vegetables, eating falarrrfel (emphasis compulsory ) and then drinking juice with The Faerie at Lady V's, I decided it was time to go home.

I had originally planned to do the yoghurt treatment as well as a Cassia (yeah, remember those?) but The Faerie was staying over and there's only so much K-drama you can leave a guest to watch by themselves  without being extremely rude.

An all in one bonanza was my only option. I mixed

2 tablespoons (30g) of Cassia
with just enough hot water to form an extremely thick paste and
4 tablespoons of Greek Yoghurt and
2 tablespoons of Apple Cider vinegar.

It smelt like vinegar and looked like pea and mint soup.


Mmmm, yummy!

I slathered my head in this delightful mix and only just had enough stuff to cover my entire head. I leapt around my room for about 10 minutes, throwing things about in the pretense of cleaning my room, before leaping back into the shower and rinsing it all out before conditioning. I forgot how bitty Cassia is when it comes to rinsing it out.

Then I progressed onto the stretching...
But I'm tired now, so that'll have to be in Part 2.

Thursday, 24 February 2011

Chicken Quesadillas

This is another recipe I got from my first year as an undergraduate, from my first American flatmate. She also gave me the recipe to the only Chocolate Chip Cookie Dough I will eat, but that's another post for another day.

Serves: 4 people,  ( or 3 Ravenous people)
Preparation time: 20 minutes (I chop slowly!) 
Cooking time: 1 hour (to do all of them)


This dish is both simple and simply delicious.
Spicy seasoned and moist chicken fillets, combined with vegetables with a little bit of bite left in them - all smothered in molten (in my case, lacto-free) cheese, and encased in a crunchy, crisp tortilla wrap...Oh, it's delightful! It's aromatic, it's filling and it's actually delicious. If you're not a fan of chicken, mushrooms are a brilliant replacement, or Quorn pieces.
 If you're feeling a little bit wild, throwing in some jalapenos gives this dish a wicked kick if heat.
Three single portions are just on the right side of filling, though I felt so sleepy after, so work was not longer an issue.
I especially love to make it when I have friends over, because it's such a lovely dish to share, so when The Faerie said she was coming back to uni from her Christmas holidays yes, this post is that old), I thought, what better dish to welcome her back with?
After I started making them, it occurred to me that I should probably let her have some too.

The things I do for my friends.

The way I eat my quesdillas is throwing the vegetables in at the end, so they're lovely and crisp and crunchy. If the idea of biting into a nearly raw onion or pepper breaks you out in hives, just throw the vegetables in with the chicken at the beginning!


Ingredients:                                                                                                                                                    
8 Flour tortillas
2 Chicken fillets, chopped (about 225g)
1 tablespoon vegetable oil
Half of a yellow onion, sliced
Half of a red pepper, chopped into bite sized pieces
Half of a yellow pepper, also chopped into bite sized piece
Half of red onion, diced
500g cheese (A 75/25 mix between cheddar and Caerphilly gives a nice texture)
4 teaspoons Fajita seasoning
You can make your Fajita Seasoning by mixing:
1 1/2 teaspoon of cumin
1/2 teaspoon of oregano
1/4 teaspoon paprika
1/4 teaspoon salt
1/4 teaspoon cayenne pepper
1/4 teaspoon black pepper
1/4 teaspoon chilli powder
1/4 teaspoon sugar
1/8 teaspoon garlic powder
1/8 teaspoon onion powder

Method                                                                                                                                                        
First step consists of sorting out the chicken. If you forgot to chop it, do it now *sigh, rolls her eyes and checks her watch*

I kid.
Then season generously with the fajita seasoning and rub it into the chicken. If you can, try and leave it for up to an hour for the flavours of the spices to develop properly.


Mmm......flavours.

Heat a little of the oil in a frying pan (large enough to hold a tortilla) over a medium high heat and, when hot, throw in the sliced yellow onion and sauté for a minute to flavour the oil.
Then throw in the chicken and cook for about 10 minutes, or until done.
(Reminder that if you don't like crunchy, near raw vegetables, now is the time to throw them in the frying pan)


 Lots of quesadilla lovers suggest blackening the chicken to really get the flavours out.

But when you live in a student flat with alarms designed to pick up a smoke particle from a piece of toast two minutes in the future, that's not the greatest idea.

Or if your kitchen vent is rubbish, you end up getting smoked instead of the actual chicken in the pan. Not cool.

Anyway. When the chicken is done, transfer them and the onions to a plate out of the pan.


Okay, so I managed a little blackening.

Rub a little more of the oil around the frying pan and then add one of the tortillas.
If you're making a single portion, which is a lot easier to do that a double portion, sprinkle cheese on half of the tortilla.


After about a minute, the cheese should start melting, at which case, you then throw on some of the vegetables, and the cooked chicken.

Then, you sprinkle more cheese over side with the vegetables and chicken. Basically, don't do like me and forget how to make it, thus sprinkling cheese on the wrong side:

WRONG SIDE! 
Anyway, when you have not made my mistake, you flip the naked tortilla side over the chicken/cheese/vegetable side. I would have a picture, but I tried to flip, snap and catch at the same time and managed to drop my phone and spatula at the same time.
Multi-tasking is not for the weak!

Flip the entire tortilla, so that side you just flipped over is now at the bottom, so that the newly sprinkled cheese can also melt. I have an after shot, of the cheese oozing out the crease. 
Thar you go:


After about 1 - 2 minutes, that side should be suitably brown and you can take it off the heat and do again 7 more times if you want!

However, if you want to do them a little bit faster and a lot more bigger, you can do what I call double portions (though most recipes will use this as the default. You basically do the same thing as above, but over the entire thing.

So cheese is sprinkled over the entirety of the tortilla, along with the chicken and vegetables:


And then the cheese is sprinkled on top all over.


And then - Whoa! What have I done?!


Worry not, you just place another whole tortilla on top. You let the bottom brown for about 2 - 3 minutes so that when flip it over it's lovely and toasted like so:


Turning it over by yourself is difficult - you probably need two spatulas and maybe another entire person to help you. Things will fall out. But it's okay because you just shove them back in with your magic spatula.

You don't need to make everything at once - you can keep the chicken and vegetables int he fridge and do it all again. 

But I was hungry...


So hungry!

It's like those old Jaffa cake adverts...

"Full Moon..."

"Half Moon!!

"Total Eclipse!"

Wednesday, 8 December 2010

Falcon's Amazing Modified Carrots

When I was in first year of university, I had an amazing flat mate from the states.

She was amazing.

She knew this guy, called Falcon, who had amazing hair, and who made this dish before my very eyes.

It was amazing too.

What can I say?

I'm surrounded by a lot of amazing things and people.

What I love about this dish is the pure simplicity - two to three typical kitchen ingredients, 10 minutes of your time, and bam, you're done! Helps you clear out those two or three or five carrots that always seems to be in the fridge, lurking about, like a Justin Bieber fan backstage, or a bogey in the bat cave.

Or maybe that's just me.

Everyone who has tasted this asks "What did you put in there?"

And then they say "No way!" when I tell them it's literally two ingredients.

Ingredients

1 teaspoon of vegetable oil (optional)
2 carrots
1.5 tablespoons of chicken/vegetable bouillon/powdered stock.

Heat the oil in a frying pan over a medium heat, if you're using.

When the pan is hot, add the carrots and allow them to just cook for about 5 minutes, till soft.


Then add the stock and stir well, to make sure it's well distributed.


And...that's it.

No, really, that's it.

No, seriously, they're done! Serve as a side, with..well, anything. It's like James Bond in a suit - you somehow get the feeling it would somehow manage to fit in anywhere.

Unless you're not satisfied. In which case, you can do the hustle:


Enjoy.

Doing the hustle, as well as the carrots.

Tuesday, 30 November 2010

Sumptuous Sticky Toffee Pudding

I've been working on this post since the 12th...because good things need to be lingered over...
*[In the M&S voice ]*
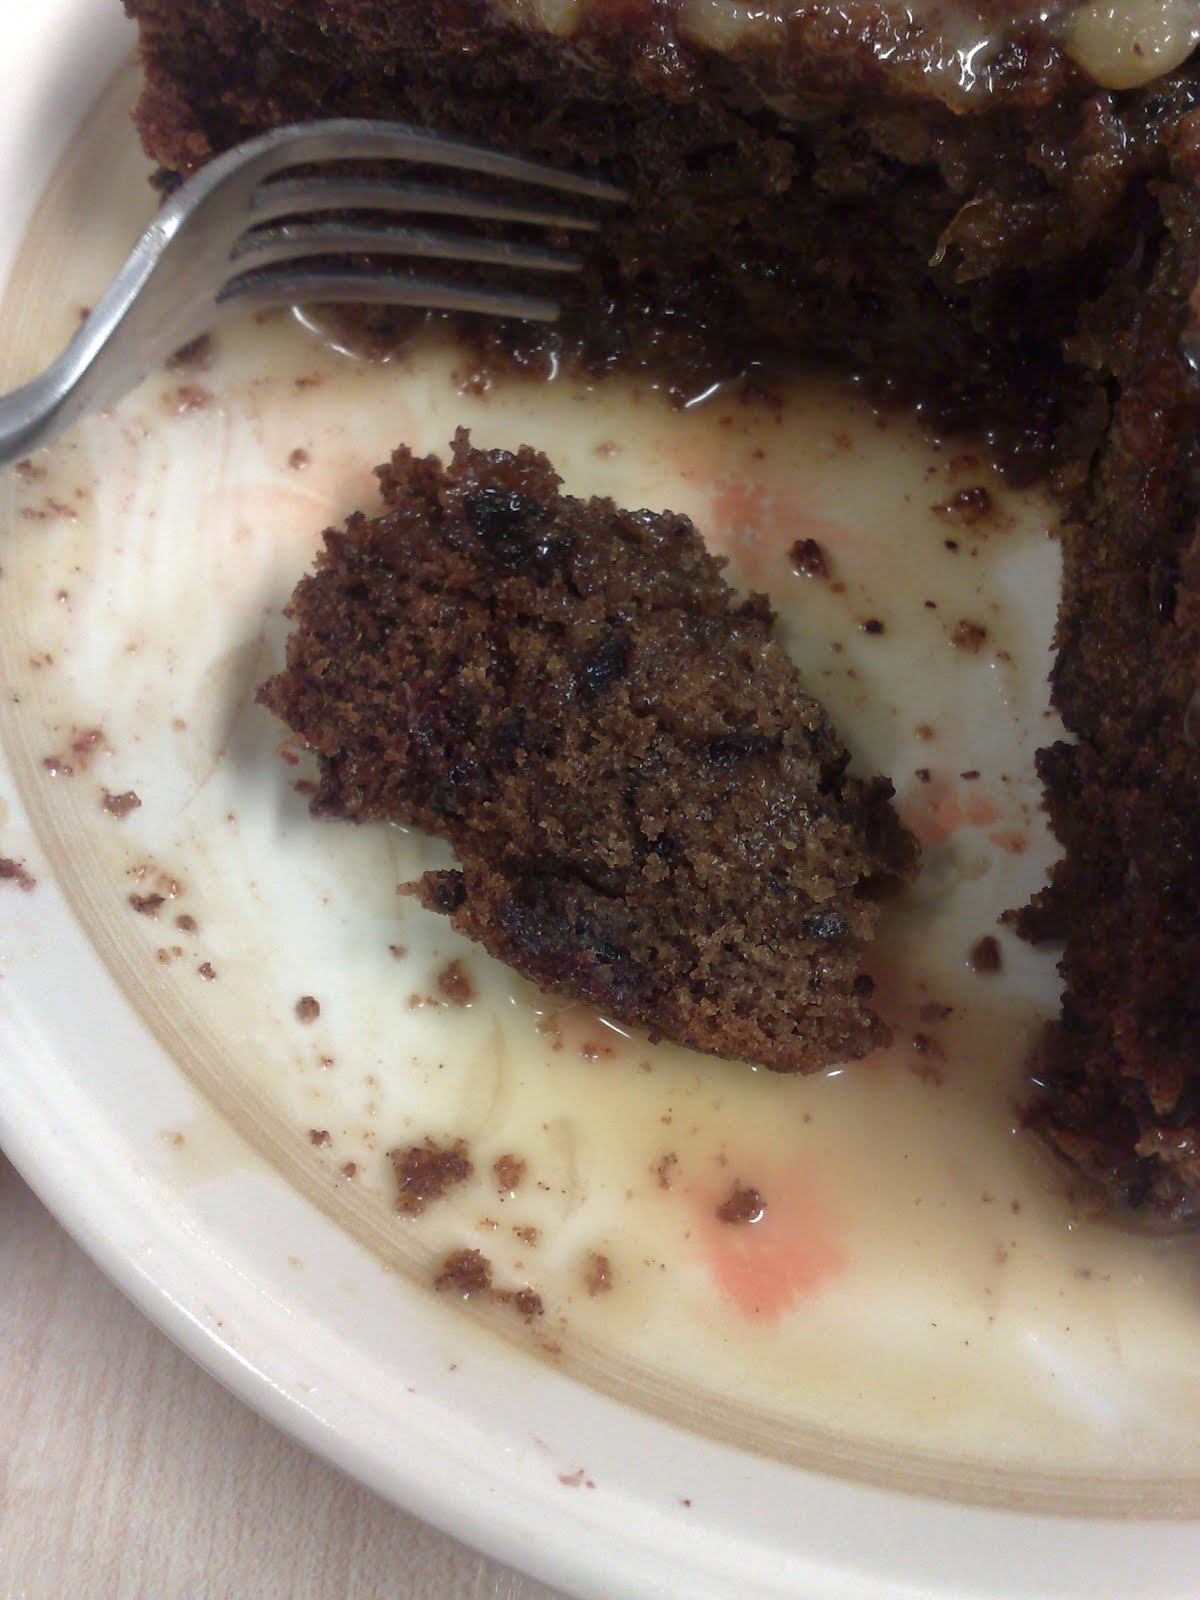
A delicious, soft, moist date sponge, oozing with delicious, buttery toffee sauce, that literally melts into a wondrously gorgeous state of affairs as soon as it hits the tongue ....
This is not just sticky toffee pud - well, actually, that's a lie. It is just Sticky Toffee Pudding. However, it is also one of my all time favourite desserts and a delicacy of the area I'm currently living in.

Thus, I have a perfectly reasonable excuse to try as many as I want.

Problem is, this tends to leave a rather massive hole in my near non-existent budget.

So, being the thrifty, dessert loving gal that I am, I endeavoured to learn how to make it!

I think my recipe is just as delicious as the ones in the restaurants....maybe even better!

Prep Time: 20 minutes (including weighing)
Baking Time: 20 - 45 minutes
Difficulty?: Easy - even if you mess up the sauce, it still tastes great!

Ingredients:

For the date sponge: -
200g (1 cup) of dates, pitted and roughly chopped
300ml ( 1 and 1/4 cups) of boiling hot water
1 tsp of baking soda
50g (1/4 cup) butter
175g (3/4 cup) sugar
2 eggs
175g (1 and 3/4 cup) plain flour
1/2 teaspoon of baking powder

For the toffee sauce: -
50g (1/4 cup) butter
3 tablespoons plain flour
50g (1/4 cup) sugar
125ml (1/2 cup) of milk
1/4 teaspoon of vanilla extract (optional)


Preheat the oven to Gas Mark 3/160 Degrees Celsius/325 Degrees Fahrenheit if you're using a 9 x 9 inch tin and anything bigger.

However if, like me, you decide to use an inappropriate 7 inch diameter cake tin in a fan assisted oven, turn it down to 150 Degrees Celsius and put it on the bottom rack.

Grease whichever tin you're using.

If you haven't pitted and chopped the dates, you probably need to do that now.


This will take a while, and you will end up with it all over your fingers.

You will come to truly understand where the 'sticky' aspect of this dessert truly comes from.

There's no pictures of this phenomenon since - well, I was too busy eating it off my fingers to take pictures.
When it is done, put it into a bowl and then pour the boiling hot water all over them - this helps them swell up and become even juicier!


Add the teaspoon of baking soda and put it to one side to do....uh, date and soda-y things.


In a big mixing bowl, cream together the butter and sugar.


Till it makes a lovely, squishy mixture.


Beat in the eggs. You can do them one at a time, reeeally making sure the first one is completely made a part of the mix, before adding the second one.
Or you could just dump them both in at the same time.


When you've finished, you should have quite a smooth mixture.


Then gently, and slowly, fold the flour and baking powder into the cake mix.


You'll be looking at it now, like "There is no way in heck that this is going to tun out moist."


What, did you forget about the dates and water already?

Gradually add in the dates/water/soda mix, mixing until the entire mix is well combined after each addition.


Pour into the pre-greased tin.


Bake for 20 - 25 minutes (if you've used a big tin. If, like me, you've used an inappropriately sized tin, you will have to wait 45 minutes. Sorry, loves!)

Then pop it into the oven and turn your attention to the sauce...the sinfully delectable sauce.

Melt the butter and sugar over a low heat. Then gradually pour in the milk, and sprinkle on the flour.

You have to keep stirring frequently at least every 10 seconds, because the flour is the thickener. And the first time I made it, I put the spoon down for 30 seconds while I went to change the song on my computer.

And I ended up with lumps.

So no pictures of this process, to avoid the lumps.

They were tasty lumps, but lumps nonetheless. So please. Keep stirring.

When the sauce has thickened considerably (it takes about 10 minutes from beginning to end), add the vanilla extract and then take it off the heat.

Check on the sponge. If a fork inserted in the centre comes out with some delectable crumbs hanging on desperately onto it, then it's done.

Basically, as long it's no longer molten.

Take the pudding out of the oven and gently run a spatula around the edge, before turning it out onto it's final serving place.

Turn it right way around and then poke it all over with a fork. Then pour the sauce over the pudding, making sure that a lot of it goes into where the fork has poked though.


And then enjoy. With custard, or ice cream, or by its stunning self.


Because, like Slinkys, that's what it was made for - enjoyment.

It's so....it's just....you know what, I'm running out of words to use to describe this pudding.

No wait. One more.

Magic.